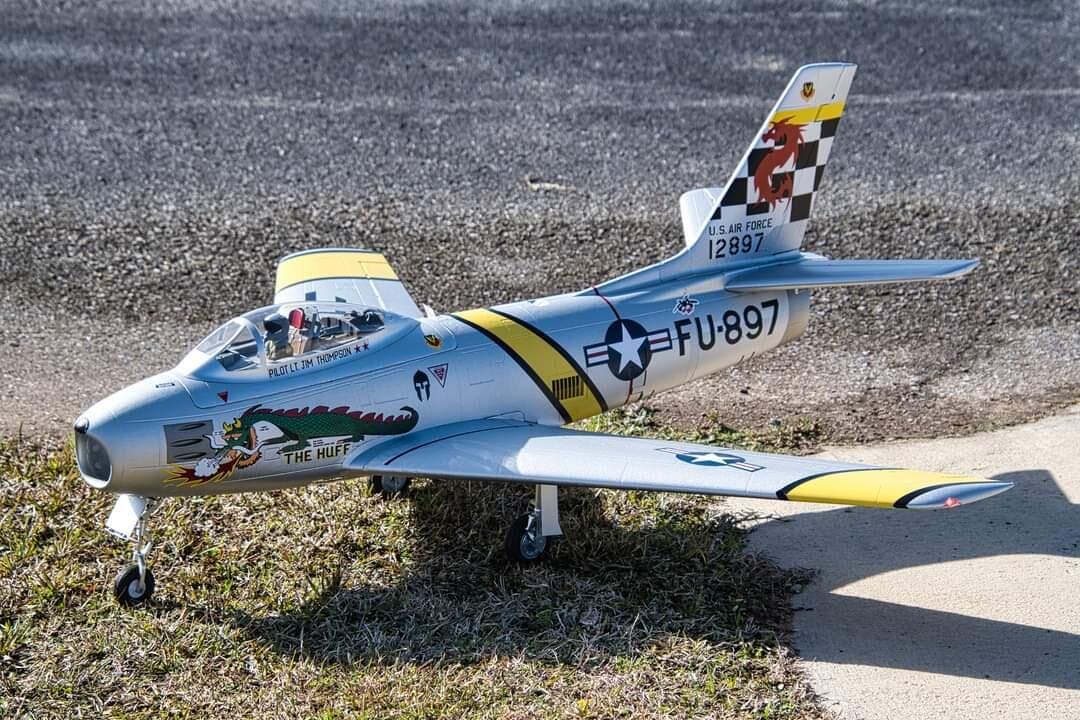
Unlock the Secrets to Crafting Your Dream RC Airplane!
Building your own RC airplane is not just about assembling parts; it's an exhilarating journey that combines creativity, engineering, and a dash of adventure. There's something uniquely satisfying about seeing a self-made aircraft soar through the sky. Whether you are a seasoned hobbyist or a curious beginner, this DIY project offers a fantastic outlet for your creativity while honing your technical skills. The purpose of this article is to guide you through the intricate process of building an RC airplane, providing you with comprehensive instructions, helpful tips, and insights that will make the experience enjoyable and rewarding. So, roll up your sleeves, and let's get started on this exciting venture!

Understanding the Basics of RC Airplanes
Before diving into the world of RC airplanes, it’s essential to understand the different types available. There are gliders, known for their serene flights and ability to stay airborne for extended periods; aerobatic planes that perform thrilling stunts and tricks; and scale models that replicate real aircraft with impressive detail. Each type comes with its own set of components, such as wings, fuselage, and control surfaces, which are crucial for flight dynamics. Familiarizing yourself with these basics will not only enhance your understanding but also help you make informed decisions about your build. For instance, my friend Tom, who started with a simple glider, emphasized how knowing about weight distribution and wing shape drastically improved his flying experience.
Gathering Your Materials and Tools
Once you have a clear understanding of the type of RC airplane you want to build, it’s time to gather your materials and tools. Essential materials include lightweight woods like balsa or plywood, foam for wings, and strong adhesives for assembly. Additionally, tools like a craft knife, glue gun, and a ruler are indispensable. When selecting materials, prioritize quality over cost to ensure durability and performance. Visiting local hobby shops can be useful, as staff members often provide valuable insights. A buddy of mine, Jake, always insists on checking reviews online before purchasing anything, as he learned the hard way that not all materials are created equal. Remember, having the right tools and materials will set the foundation for your project.
Step-by-Step Guide to Building Your RC Airplane
Now that you have your materials ready, it’s time to get into the nitty-gritty of building your RC airplane. This process can be broken down into several key stages:
1. Designing Your Airplane
The first step in the building process is to design your airplane. Take the time to sketch your design, considering the dimensions, weight, and balance. This planning phase is crucial as it will dictate the airplane's performance. Make sure to research aerodynamics to optimize your design. My friend Lisa, an avid builder, always spends extra time here because she believes that a solid plan leads to a successful build.
2. Assembling the Frame
Next, you’ll assemble the frame of your airplane. Start by cutting your materials according to your design specifications. Use strong adhesives and ensure that all joints are secure. It’s helpful to use clamps while the glue sets to prevent any movement. Remember, the frame is the backbone of your airplane, so take your time to do it right. When I built my first airplane, I rushed this step and regretted it later when the wings wobbled during flight.
3. Installing Electronics
With the frame in place, it’s time to install the electronics. This includes the motor, servos, and battery. Carefully follow the wiring diagrams to ensure everything is connected properly. Pay close attention to the placement of the battery for balanced weight distribution. Safety is paramount, so double-check all connections before proceeding. My friend Sam had a mishap once due to a loose connection, leading to a crash on his first flight!
4. Final Touches and Adjustments
Finally, it’s time for the finishing touches. This includes painting your airplane and making necessary adjustments for optimal performance. Ensure all control surfaces move freely and that the balance is correct by adjusting the battery’s position if needed. Test the control surfaces to confirm they respond correctly to input. The aesthetic part is where you can personalize your plane. I vividly recall spending hours customizing mine, which made the first flight even more special.
Testing and Flying Your RC Airplane
With your RC airplane fully assembled, it’s crucial to conduct thorough testing before your maiden flight. Start by performing checks on all electronics and ensuring that everything is secure. Choose an open area for your first flight to avoid obstacles. During the initial takeoff, keep a close eye on how the airplane handles. If you notice any issues, don’t hesitate to troubleshoot. Common problems include control surface misalignment or insufficient power. My first flight was nerve-wracking, but with patience and adjustments, I managed to keep my plane in the air!
Your Journey to Becoming an RC Airplane Pilot
Building and flying your own RC airplane is an incredibly rewarding experience that teaches patience, creativity, and technical skills. From understanding the basics to the thrill of your first flight, every step contributes to your growth as a builder and pilot. As you embark on this journey, remember to seek out the community of RC enthusiasts for support and inspiration. The sky is truly the limit when it comes to crafting your dream aircraft!


Comments