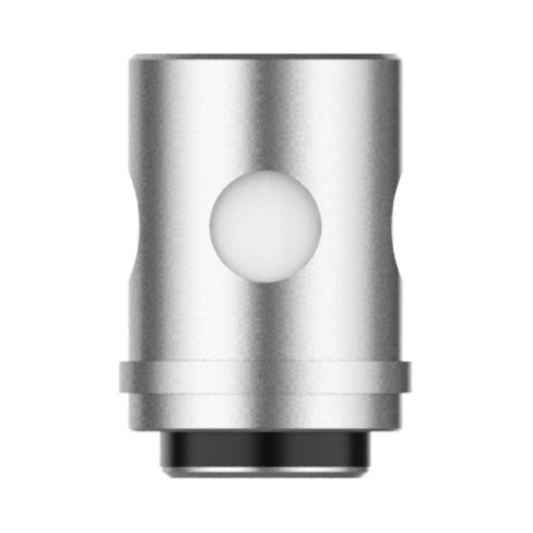
Top Tips for Properly Cleaning and Maintaining Your Vape Coil
Corps
Maintaining your vape coil is essential for ensuring a smooth vaping experience. A well-maintained coil not only enhances the flavor but also extends the life of your device. In this article, we will delve into the top tips for properly cleaning and maintaining your vape coil, providing you with a comprehensive guide to keep your vaping sessions enjoyable and efficient.

Understanding the Importance of Coil Maintenance
Before diving into the cleaning process, it's crucial to understand why maintaining your vape coil is important. Over time, residue from e-liquids can build up on the coil, leading to a burnt taste and reduced vapor production. Regular maintenance helps prevent these issues, ensuring a consistent and pleasurable vaping experience.
Regular Cleaning: A Key to Longevity
One of the top tips for properly cleaning and maintaining your vape coil is to establish a regular cleaning routine. Depending on your usage, cleaning your coil every one to two weeks can significantly improve its performance. Here's a step-by-step guide to cleaning your vape coil:
- Disassemble Your Device: Carefully take apart your vape device to access the coil.
- Rinse with Warm Water: Rinse the coil under warm water to remove any loose residue. Avoid using soap or other cleaning agents as they can leave unwanted residues.
- Soak in Alcohol: For a deeper clean, soak the coil in isopropyl alcohol for a few hours. This helps dissolve stubborn residue.
- Rinse and Dry: After soaking, rinse the coil thoroughly with warm water and let it air dry completely before reassembling your device.
Prime Your Coil for Optimal Performance
Another crucial aspect of maintaining your vape coil is priming it before use. Priming involves saturating the coil with e-liquid to prevent dry hits and extend its lifespan. Follow these steps to prime your coil effectively:
- Apply E-Liquid: Drip a few drops of e-liquid directly onto the coil's cotton wick.
- Assemble and Fill: Reassemble your device and fill the tank with e-liquid.
- Let It Sit: Allow the coil to sit for at least 10 minutes to ensure the wick is fully saturated.
- Start with Low Power: Begin vaping at a lower wattage and gradually increase to your desired level. This helps the coil adjust and prevents burning.
Monitor Your Vaping Habits
Your vaping habits play a significant role in the longevity of your vape coil. Here are some tips to keep in mind:
- Avoid Chain Vaping: Continuous vaping without breaks can overheat the coil and reduce its lifespan.
- Use the Right E-Liquids: High-VG (vegetable glycerin) e-liquids tend to produce more residue. Opt for balanced PG/VG ratios to minimize buildup.
- Stay Within Recommended Wattage: Exceeding the recommended wattage for your coil can lead to burning and reduced performance.
Recognize When It's Time to Replace Your Coil
Despite regular cleaning and maintenance, vape coils have a limited lifespan. Knowing when to replace your coil is essential for maintaining a quality vaping experience. Signs that it's time for a new coil include:
- Burnt Taste: A persistent burnt taste even after cleaning indicates a worn-out coil.
- Reduced Vapor Production: If your device is producing less vapor than usual, it may be time for a new coil.
- Gurgling Sounds: Unusual gurgling sounds can be a sign of a damaged or clogged coil.
By following these top tips for properly cleaning and maintaining your vape coil, you can ensure a consistently enjoyable vaping experience. Regular maintenance, proper priming, mindful vaping habits, and timely coil replacement are key to getting the most out of your device. Happy vaping!


commentaires