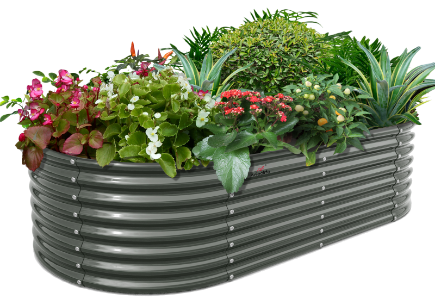
How to Build a Raised Garden Bed for Beginners
Corps
Choosing the Right Location
Before diving into the process of constructing a raised garden bed, it is crucial to select the perfect spot for your green oasis. Look for an area that receives an adequate amount of sunlight and is easily accessible for watering and maintenance. Additionally, ensure that the ground is level to provide a stable foundation for your raised garden bed.

Materials Needed
Now that you have identified the ideal location, it's time to gather the necessary materials for building your raised garden bed. You will need untreated wood planks, screws, a drill, a level, and a saw. These basic materials are essential for constructing a durable and long-lasting raised garden bed that will support your plants' growth.
Constructing the Raised Garden Bed
Begin by cutting the wood planks to your desired dimensions, keeping in mind the height and width of your raised garden bed. Once you have your pieces ready, assemble them into a rectangular shape, ensuring that the corners are square and the sides are level. Use the drill and screws to secure the planks together, creating a sturdy structure for your raised garden bed.
Filling the Raised Garden Bed
With the frame of your raised garden bed in place, it's time to fill it with soil. Opt for a high-quality garden soil mix that is rich in nutrients and promotes good drainage. Fill the bed to the top, leaving a few inches of space to prevent soil from spilling over the edges. Once the soil is in place, you are ready to start planting your favorite flowers, herbs, or vegetables in your newly built raised garden bed.
Building a raised garden bed is a rewarding project that can enhance the beauty of your outdoor space and provide a bountiful harvest of fresh produce. By following these simple steps and tips on how to build a raised garden bed for beginners, you can create a thriving garden oasis right in your backyard.


commentaires