


Transform Your Kitchen: Master the Art of Installing a Hood Vent with Ease!
In any kitchen, a kitchen hood vent plays a crucial role in maintaining air quality and cleanliness. These essential appliances not only help remove smoke, odors, and grease from the air, but they also improve overall ventilation, making your cooking space more comfortable and inviting. The benefits of installing a kitchen hood vent extend beyond just air quality; taking on this DIY project can save you money and provide a sense of personal satisfaction. With a few tools and some patience, you can transform your kitchen environment while enhancing your home’s value. In this guide, we will walk you through the step-by-step process of kitchen hood vent installation, ensuring you’re fully equipped to tackle this project with confidence.
Understanding Kitchen Hood Vents
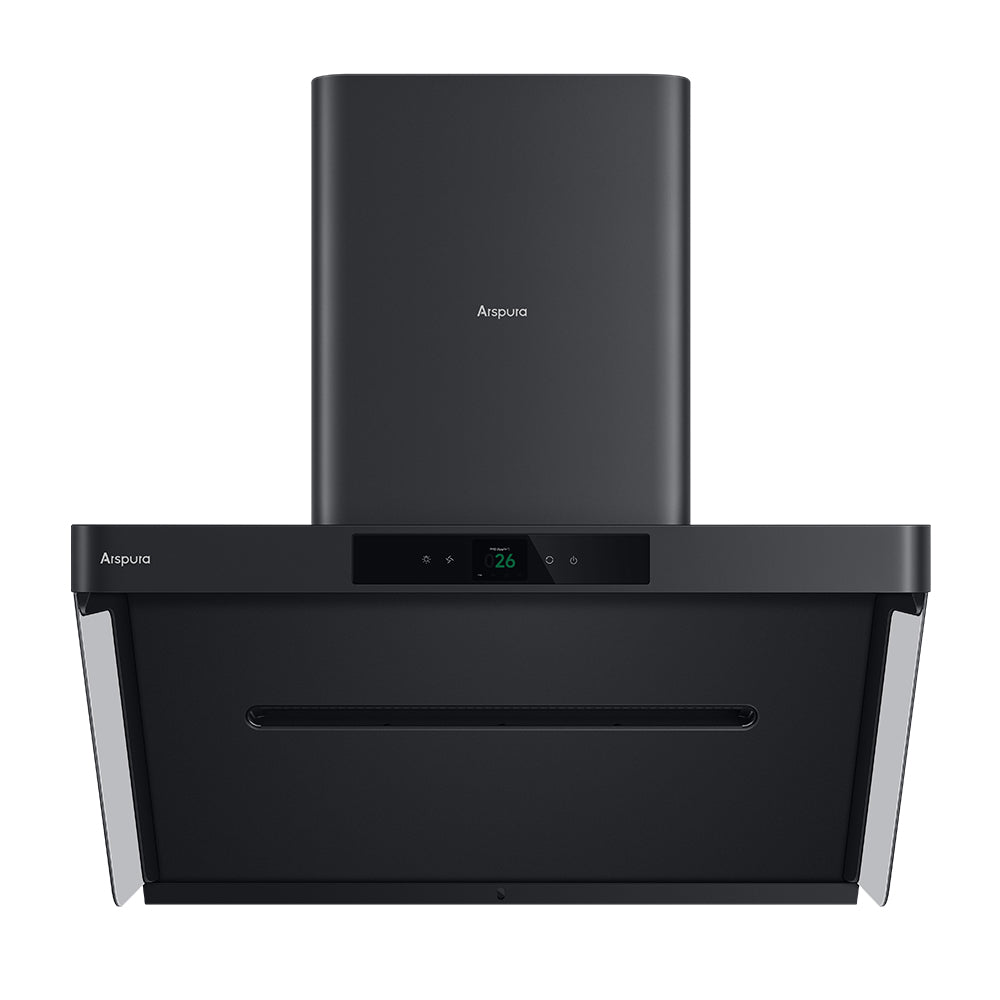
Kitchen hood vents are ventilation systems designed to eliminate smoke, steam, and odors produced during cooking. They come in various styles, including under-cabinet, wall-mounted, and island hoods, each serving specific kitchen layouts and needs. Selecting the right type of hood vent is essential for optimal performance; for instance, wall-mounted hoods are great for traditional kitchen setups, while island hoods are perfect for open-concept designs. Additionally, the size and power of the vent should match your stove’s BTU output to ensure effective air removal. Understanding these factors will help you choose a suitable hood that enhances both functionality and aesthetics in your cooking space.
Tools and Materials Needed for Installation
Before diving into the installation process, it’s important to gather all the necessary tools and materials. Essential tools include a drill, screwdrivers, measuring tape, and a level. You will also need materials such as ductwork to connect the vent to the outside, screws for mounting, and the hood vent itself. Having everything on hand before you start will prevent delays and ensure a smoother installation process. When my friend Sarah installed her kitchen hood vent, she found that planning and preparation were key. By organizing her tools and materials beforehand, she was able to complete the project with minimal fuss and maximum efficiency.
Step-by-Step Installation Guide
Installing a kitchen hood vent may seem daunting, but by breaking the process into manageable parts, it becomes a straightforward task. Here’s a detailed guide to help you through the installation.
Preparation Steps
First, measure the area where you plan to install the hood vent. Ensure there’s enough space above the cooktop, typically 24 to 30 inches, depending on the manufacturer’s recommendations. It’s also vital to check for any electrical wiring and ducting that may need adjustment. If you're not familiar with electrical work, consider consulting an electrician to ensure safety. Additionally, if your vent requires ductwork leading outside, plan the route carefully to minimize bends and turns which can reduce airflow. My neighbor, John, learned this the hard way when he realized too many bends in his ducting restricted airflow, forcing him to redo part of the installation.
Installation Process
Once you’ve prepared the area, it’s time to begin installation. Start by securing the mounting bracket to the wall or ceiling, ensuring it’s level. Once the bracket is in place, lift the hood vent onto the bracket and secure it with screws. Next, connect the ductwork; if your hood vent is ducted, attach the duct to the outlet on the hood. Ensure all connections are tight to prevent leaks. For those opting for a ductless model, make sure to install the filters as directed. Safety is paramount throughout this process; always wear protective eyewear and gloves, and work with a partner if the hood is particularly heavy.
Final Checks
After installation, it’s crucial to test your new kitchen hood vent. Turn it on and check for proper airflow; you should feel a strong draft when the fan is operating. Inspect all connections for leaks, ensuring that everything is sealed properly. My friend Emily had a small leak in her ductwork that she discovered during this final check, allowing her to address it before it became a bigger issue. By taking the time to conduct these checks, you can ensure the vent operates efficiently and effectively.
Successfully Installing Your Kitchen Hood Vent
Installing a kitchen hood vent is a rewarding project that can greatly enhance your cooking space. By understanding the types of hood vents available, gathering the right tools, and following our detailed step-by-step guide, you can successfully complete this installation on your own. The benefits are numerous, from improved air quality to increased home value, not to mention the satisfaction of having accomplished the task yourself. So, roll up your sleeves and take on this challenge; your kitchen will thank you for it!


Comentarios